
Agroforestry
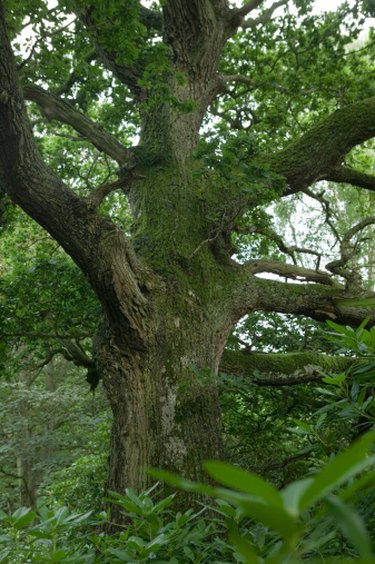
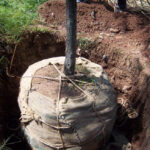
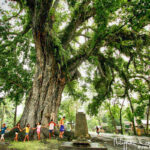
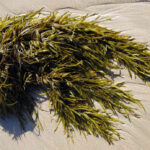
Mangkono Tree: The Ironwood of the Philippines
One of the Philippines' most incredible natural resources is the Mangkono tree, also known as "The Iron Wood Tree." This unique and valuable tree is a true gem of the Philippines, particularly...
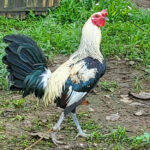
POULTRY

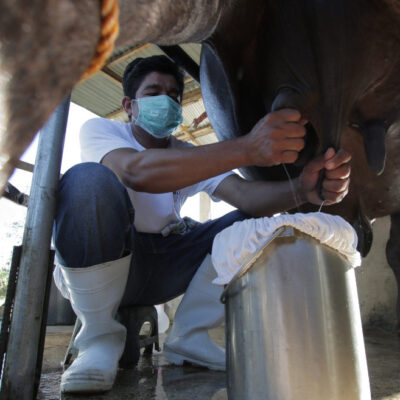
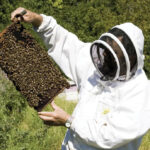
LIVESTOCK


FOOD & HEALTH

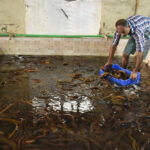
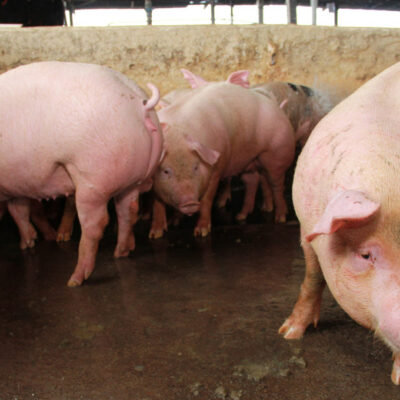
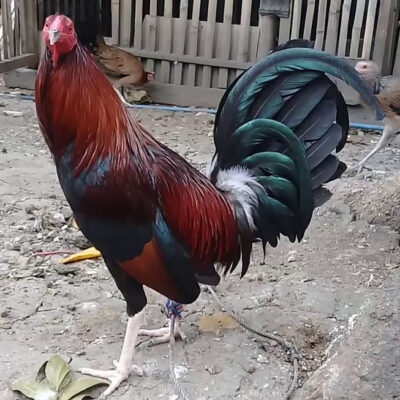
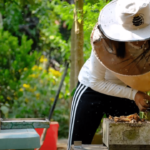
ASF in Antique: San Jose Prohibits Backyard Slaughter of Hogs
SAN JOSE DE BUENAVISTA, Antique—Starting Tuesday, backyard hog slaughter is prohibited in San Jose de Buenavista to prev...
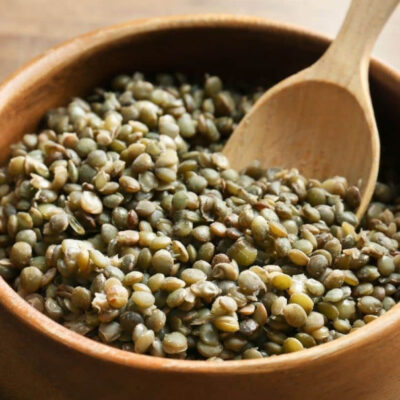
12 Health Benefits of Lentils, Description, and Side Effects
Are you seeking a simple yet powerful way to boost your health and nourish your body? Look no further than the humble le...

9 Health Benefits of Ackee Fruit, Description, and Side Effects
Welcome to the colorful world of ackee fruit! Bursting with vibrant hues and nutrients, this exotic delight is a feast f...